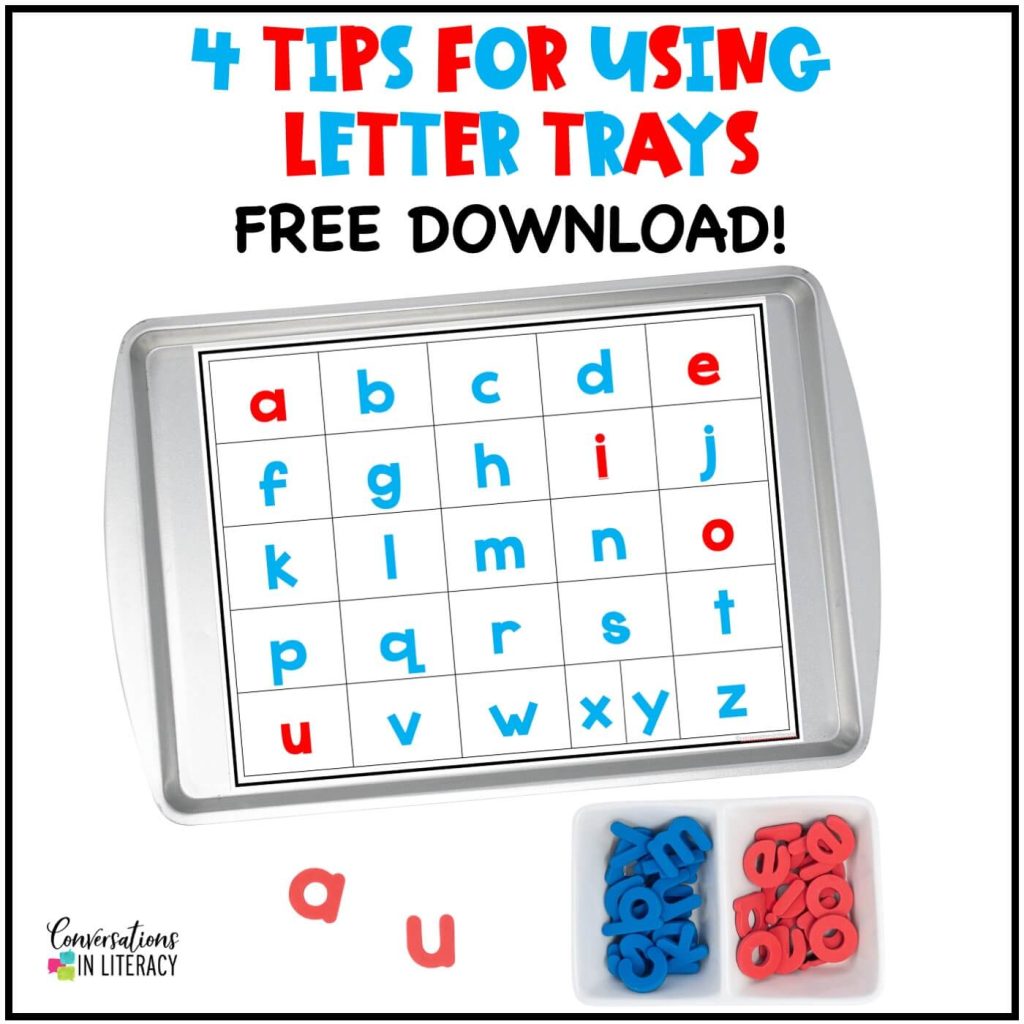
Our 4 tips for using magnetic letter trays will hopefully remind you to get those cookie sheets back out and use them again if you haven’t been! And letter trays are NOT just for kindergarten and first grade. 😃

I have used different methods for teaching ABC letter recognition, phonics skills, word activities, etc… and for me letter trays are a great addition! It is the easiest way to keep the letters organized. You are able to just glance at the sheet and instantly see if a letter is missing. And using magnetic letters makes your lesson multisensory over using letter tiles because students can trace the shapes of the letters with their fingers a way that is more effective than tracing over a flat tile.
#1 Bring It Down & Double Up!
When using letter trays, you can use different types of magnetic letter board templates. If teaching with a small group of younger students who become overwhelmed at all the letters on the tray at once, bring it down to their level. Remove all the letters not needed for that lesson. This will make their brains less overloaded. Less anxious brains learn more and learn faster!

For students who are building or mapping larger words, double up the letters! There are so many words that students will need more than one of the letters. So I just double up the magnetic letters in the boxes or double stack the letters so students have what they need and the lessons run smoothly. I don’t double up the j, q, w, x, and y letters. Mostly we don’t build or map words that need two of those letters and it helps save room on the tray for the ones we do double up.

#2 Flip It!
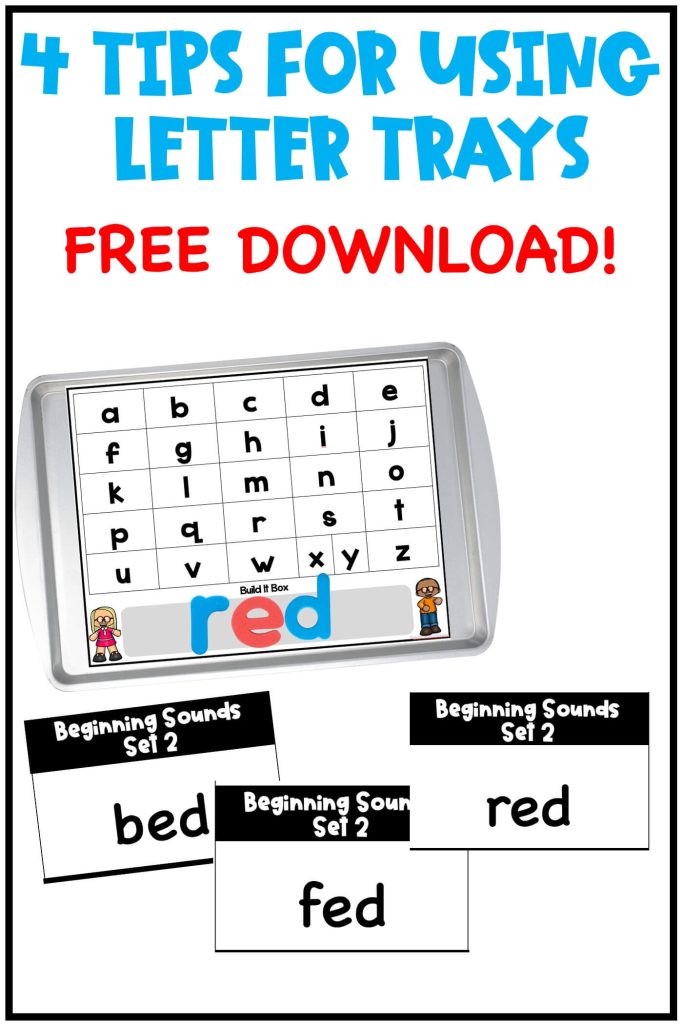
As I have students build or map words, I first have them complete it and check their letters to the sounds. While they are working, I have also used the letters to build the word on the back of the tray. Since it is magnetic, the letters do not slide. I just flip it over and show students so they have a correct answer to check their answer against.
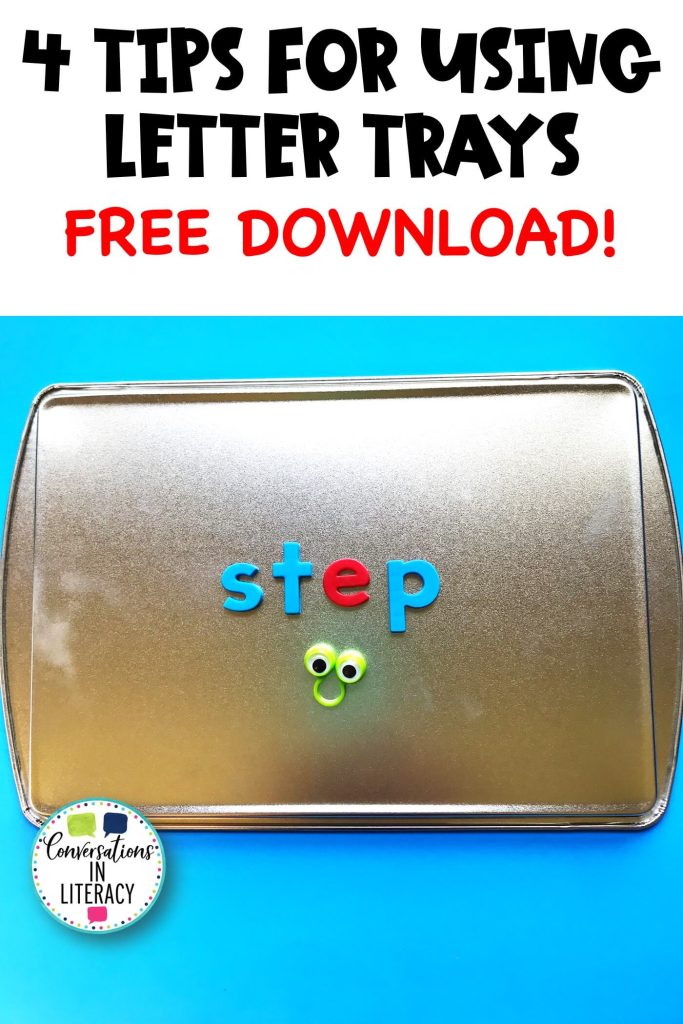
This way they are not trying to look at my work upside down and I am not writing and erasing constantly on a dry erase board. It is easy for me to grab the letters and build the word with the tray towards me not showing my work. Then I have plenty of time to observe the students and how they work through the process, so I can help if needed.
#3 Seek It, Map It, Chain It!
Now that your letter trays are ready, you are good to go for MANY different ways to use the trays for different activities!
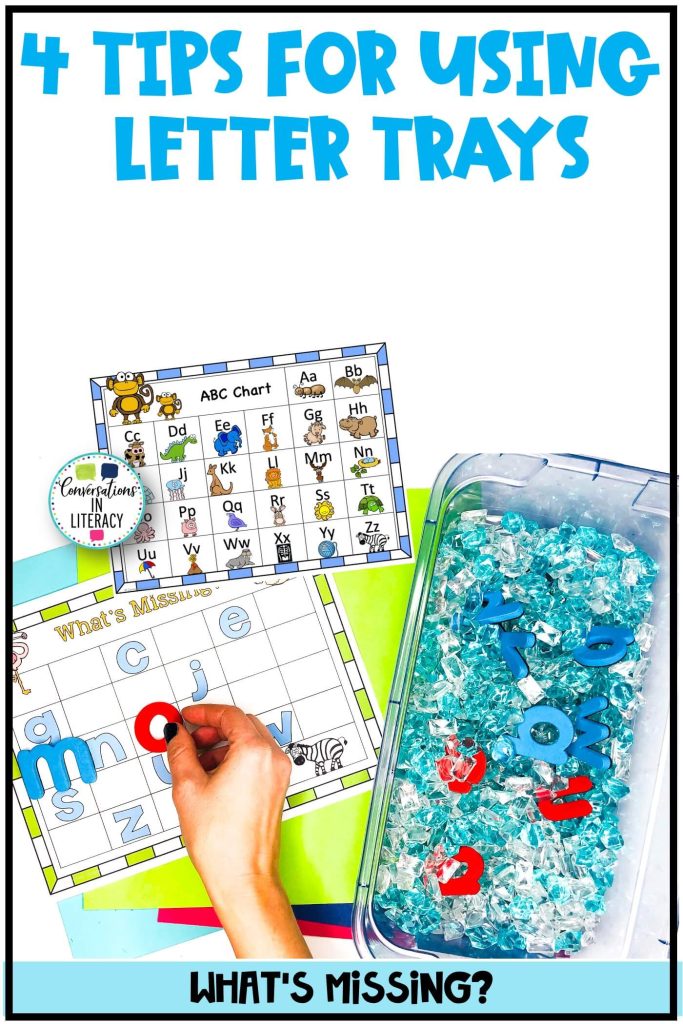
Seek It is great for those students learning the alphabet. You can fill a bin with rice, Legos, pom poms, etc.. and hide the letters. Young students love this activity for beginning to learn letter recognition and ABC order.
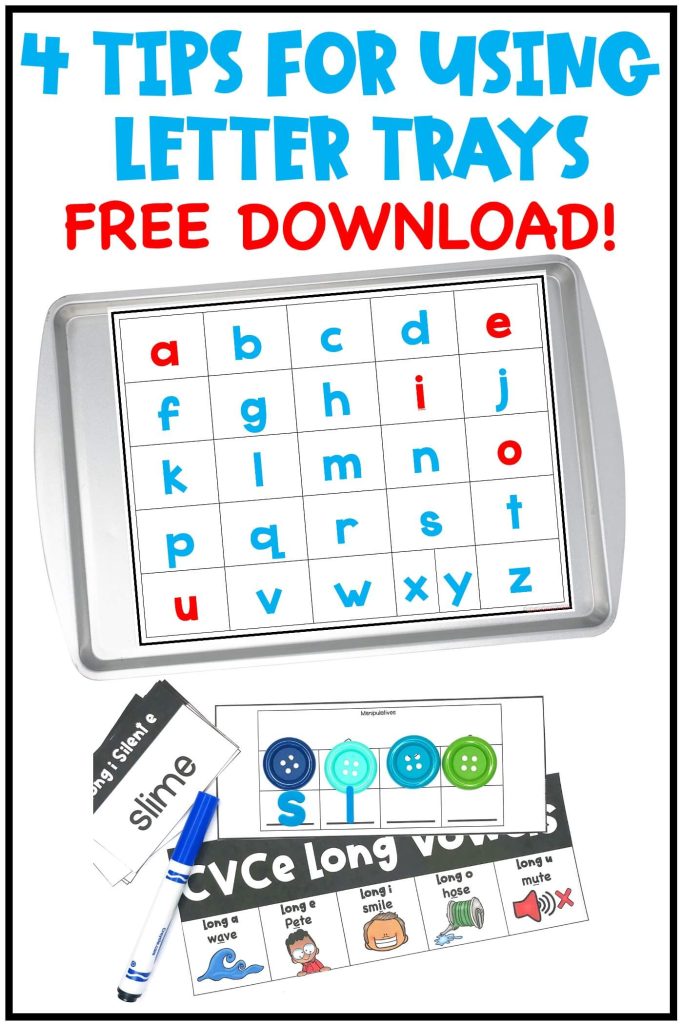
Mapping words makes great table or center activities! Use teacher cards to call out the words for students to tap, map, and then to build using the magnetic letters from the tray.
Word chains are a favorite activity of my students with the letter trays. This is an activity that can be key to building phonemic awareness and phonics knowledge!
Students start with a word, say can, and build it. Then you tell them to switch one sound in can to build pan. The student then uses their phonemic awareness to hear what sound changed and what position in the word this sound occurs. Then they must make the correct swap with a new letter. This is a lot of processing and so beneficial!
But word chains do not have to just be for younger students! You can do this with older students using multisyllabic words. For example, clap baseball and determine how many syllables are in it. Draw the syllable boxes. Then tap out the sounds in the first syllable and move to the second syllable. Now have students swap out one syllable of baseball and make it softball. So effective for building key decoding and encoding skills!

#4 Housekeeping!
That may sound silly but housekeeping is important so trays do not become a chaotic mess! I give students 30 seconds at the end of a lesson to tidy up the trays before handing them in to me. They visually check to make sure all letters are there and in their proper spots. I teach them to straighten out the letters too. If the trays are messy and I have a young group coming next to use them, the younger students will have to work harder for their brains to make sense of the chaos on the tray. It is always better to start with neat and organized trays! Then stack them up! That is the easiest way to store them and they don’t take up a lot room.
Now that you hopefully have a new idea or two for letter trays, how are you going to use them? Comment below and let us know!

Pick up your FREE letter tray templates here when you sign up for our weekly newsletter! You will gain access to our Free Literacy Resource Library when you do and the letter tray templates will be there!

Leave a Reply