
Wouldn’t you love to be able to use your resources from TpT that are in PDF format as a digital activity? For students to be able to write or type in their answers where they couldn’t before if you had changed the PDF? Now you can! And it is really easy to do! This is a game changer for digital learning and distance learning!!
Most of us do not know yet exactly what this upcoming school year will look like. Will students be in classrooms, will we be doing distance learning or a mixture of both? We want to make things easier for you to be prepared either way!
Now, thanks to TpT, you can take resources from TpT and using TpT’s digital tool, turn them into digital activities that students can complete on their devices. Look for the badge on your favorite resources to see if the author has enabled them to be adjusted for digital.
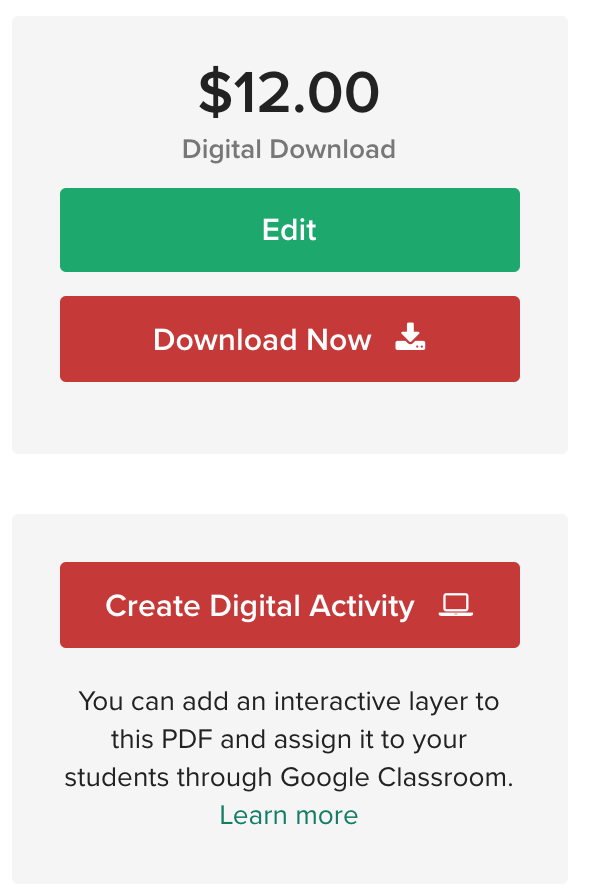
If the author has this CREATE DIGITAL ACTIVITY showing, then they have enabled this tool for you! Some authors will have enabled it for you, but you will have to do the modifying to fit your students. Some authors will modify the resource for you so that you don’t have to! I am going through and modifying resources for you as I can. If I have already modified them, you will see in the description a green checkmark and a sentence explaining that this resource is ready for digital.
Be aware though, that when an author has the CREATE DIGITAL ACTIVITY enabled, the way it is set up ALL of their PDF resources will show this. Even if some of the resources will not work best being modified.

For example, this Story Retelling Puzzles resource. It shows as you can make it into digital using the TpT tool. But this resource would not be best used that way. It has puzzle pieces to be moved around which you cannot enable on TpT tool. But I cannot turn that off. We have all of our resources marked or none.
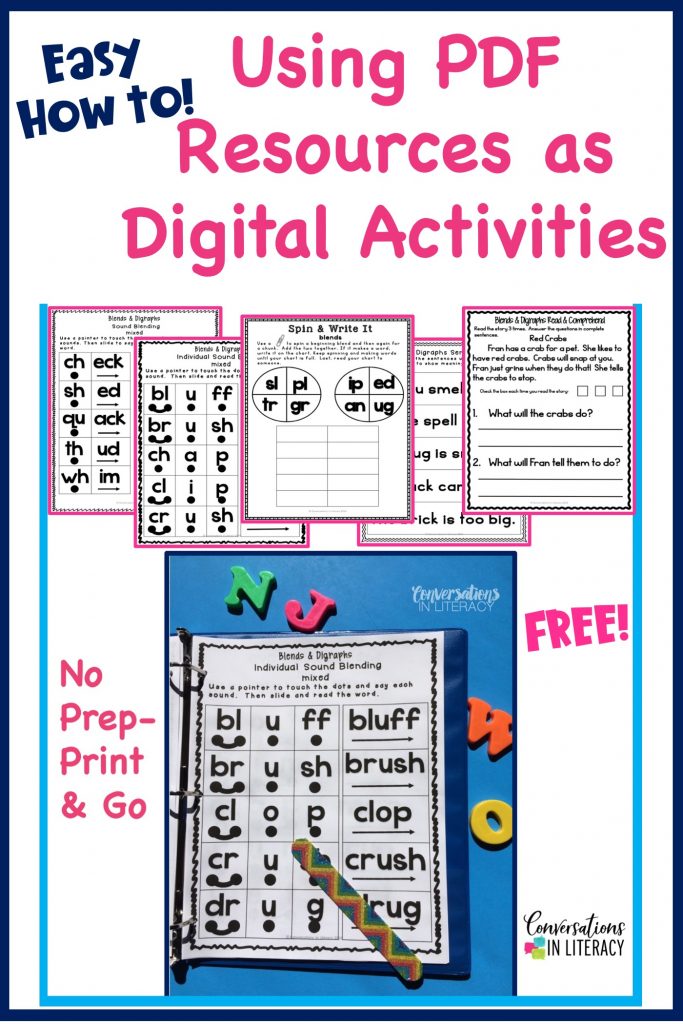
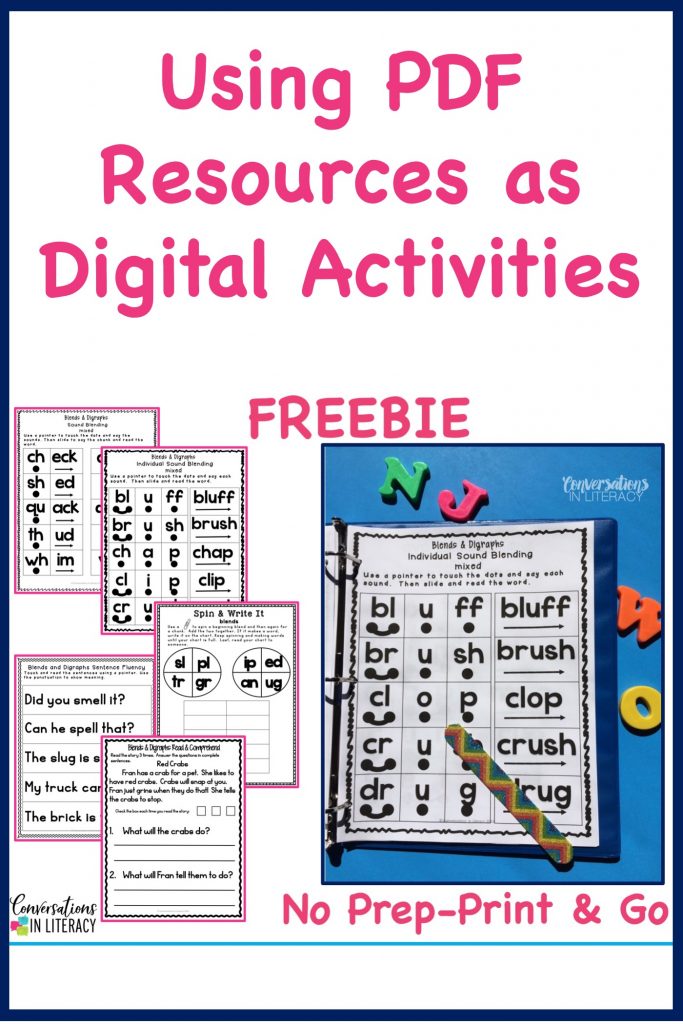
This FREE PDF Blends and Digraphs resource is an easy way to check out the new TpT tool. I have already adjusted it for you. But you can go in and add back the pages or change how you want students to answer!
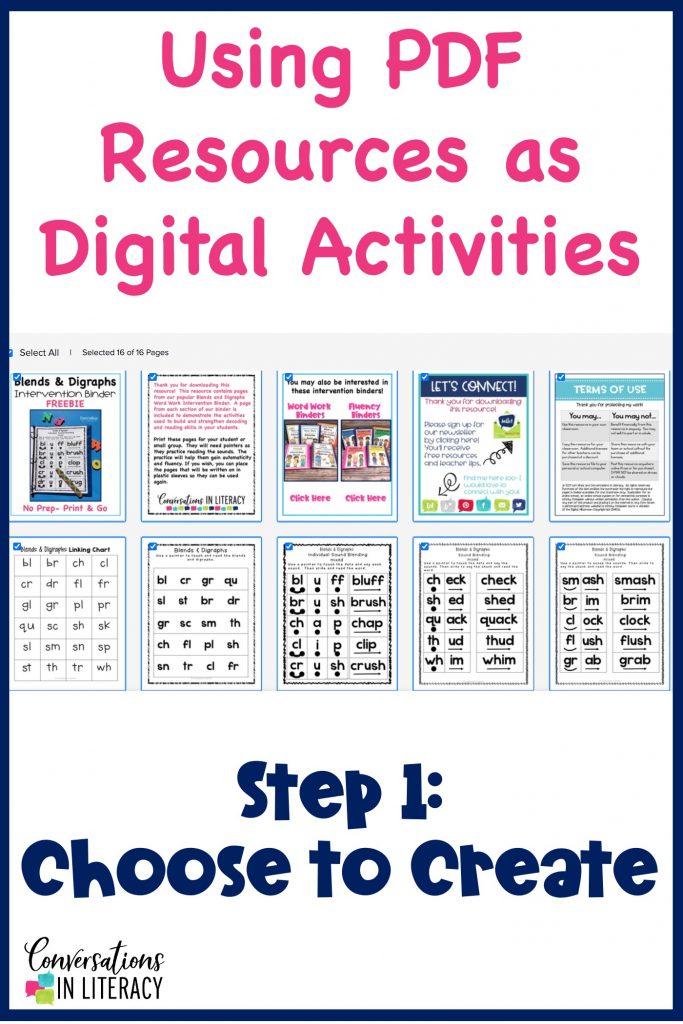
To begin, after you download your resource, you are going to choose create on your screen.

After the screen changes and you can see all the slides down the left side, you will choose edit pages. This is where you will take out any slides you do not wish the students to see- answer keys, terms of use from the author, how to use pages, etc… I have taken these out for you in this resource. But you can add pages back in! You are not stuck- changes can be made!
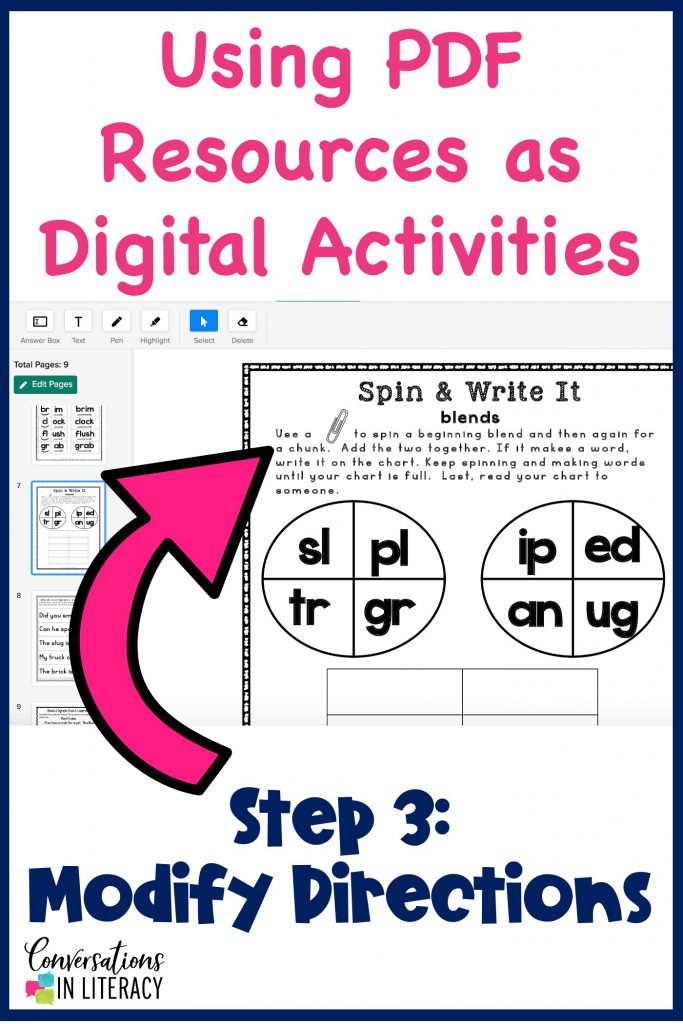
Sometimes the directions need to be modified for the resource to make sense digitally. On this page, the directions say to use a paperclip to spin parts of words. That would be hard on a device. But, this is easily changed!
Go to the tools at the top and choose pen. Then choose the thickest marking for the pen and choose white. You are going to use the pen like whiteout!
Color or mark over the picture of the paperclip and the words to spin. Now choose text and type in roll dice and move the text over the whited out parts. I also added numbers using the text tool to the circles for when students are rolling the dice.

Places where students would normally write in answers, I used the answer box tool to add those in. You could also have students use the pen tool if you didn’t want to add in text boxes. But that might be a little trickier and messier for students than typing in answers. I use the pen tool for checking off boxes. There is a highlighting too also that is handy!
Now, go through each page and see what needs to be done to make the resource ready for your students. Honestly, once you have done this a time or two, it is easy and does not take very long!
TIP: I use the copy and paste on my computer to speed this process up. I select the area I whited out, and the text I want over that, then copy it and pasted it on each page to save time.
Now, you can click preview to see what the resource will look like for students. If you are satisfied with that, then you will click assign. You can assign the activities in Google Classroom, but students will be working on the activities on TpT’s tool since this is the platform used to modify the resource.
This is going to make distance learning AND classroom learning SO much easier on you, the students and parents! If you need more tutorials you can click here to see TpT’s tutorial.

Great information. Can I somehow save my digital edit if I do not “assign” it into Google Classroom?